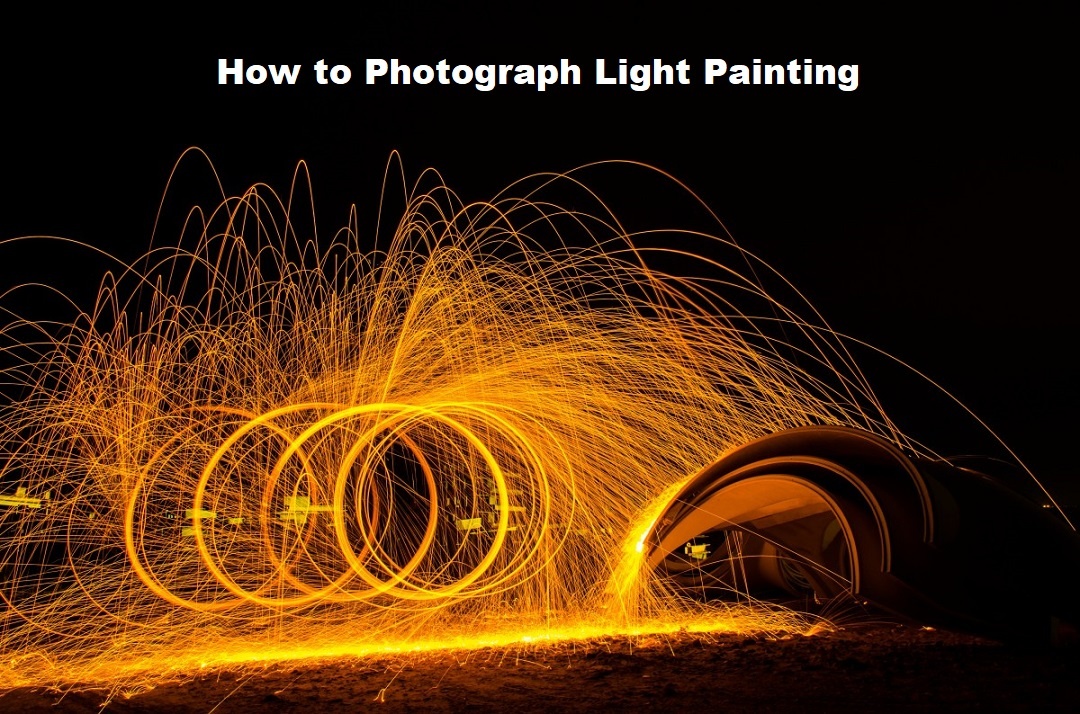
Did you ever think about how photographers capture the most wonderful and sometimes bizarre light images at night? The circular or spiral lights going across the background and subject of a photograph create astounding effects. But how do photographers bring such a fantasy into reality?

Well, the answer lies in the light painting photograph. Recently, photographers are gone mad to show their creativity using light painting. Hence, we thought about putting this article on how to photograph light painting for the enthusiast and experimental photographers.
So, are you ready to capture a jaw-dropping night light painting?
The Outcome of This Tutorial on How to Photograph Light Painting
At the end of this succinct tutorial, you will learn the following factors related to light painting photography.
Light Painting Photography Tools:
Light painting photography at night or in darkness is fun if you have the appropriate equipment and devices ready for it. Let’s take a look at the essential accessories for light photography.
The camera: It includes a DSLR with ‘Bulb’ and manual setting options.
A tripod: A sturdy and potent tripod is necessary on which you will have to position the camera.
Proper light source: You will also need a light source to create the lighting effect. For this, you may use led tubes, wireless flash, torch, or anything that will emit sufficient lights. But to get the best effect, we recommend you use a flashlight with color and size variations.
Cable and battery: You should also keep an electric wire with time nearby in case of necessity. Then, an extra battery will do a world’s better in case you need to replace the battery of the light source.
A dark environment: You can either shoot in a dark indoor or outside during the night.
The subject: Lastly, you should find a proper subject. For novice photographers, start with a smaller theme such as a vintage car or old barns are the best option.
Camera settings and initial setup
Let’s start light painting photoshoot
Once you are ready with DSLR settings and subjects, its’ time to do some photography.
For novice photographers, this trial and error learning procedure is exceptionally crucial.
We Recommend To Play at free time: Elite Dangerous Bounty Hunting
FAQ - Light, Painting and Photography
What do you use for light painting photography?
If you want to light create light painting photography, you will need a DSLR or camera, a subject, light sources such as a LED tube light, or flashlight, a tripod, and a remote sensor to control the camera shutter and shake.
How do you photograph a painting?
If you want to photograph a painting at first, place it on a wall. Now put light upon it or use a flashlight to create the lighting effect. Then choose the proper camera aperture, shutter speed, and ISO before clicking the photograph.
Lastly, when you are satisfied with everything, take your 1st photograph and see whether everything is okay or not. If not, then adjust the camera and light settings accordingly and retake photos until you get your desired result.
What is the light paining mode?
In general, light painting is an advanced technique to take pictures with different artificial lighting modes. In light painting mode, the light source remains moving while the camera is placed on a tripod with long shutter exposure to take a picture of a subject under inadequate illumination. Here, the artificial light source creates the imaging effect.
How do you make light painting tools?
There’re many light painting tools that you can make with DIY projects to create a visually engaging photograph. However, the most common light painting tool is a flashlight or torch. Fortunately, you can quickly get one in a nearby shop. Also, you can create a fairy LED light for such creative photography.
How do you make a light painting tube?
You can easily make a light painting tube using a cake collar. At first, make three even parts of the cake collar from the width with a ruler and cutter. Then use a transparent tape to connect the three parts one after another. Lastly, roll the connected cake collar on a tube and then stick a small piece of transparent tape on the collar one again. That’s it.
How do you light paint using a phone?
Your smartphone can be used in two different ways to create light painting photography. You can sue the phone flashlight to create the lighting effect. Or, if you have a good camera phone, you can use it to take a photograph instead of using a professional camera.
Wrap up
Light painting photography is a unique way to showcase your innovative mind and create something special out of nothing. Once you understand the art, you can turn a simple image into a historical masterpiece.
For beginners, there’s nothing to worry about since the lighting photography tricks aren’t something out of this world. These are convenient and straightforward. With a few easy steps and trials, you will get an overwhelming light paint photography.
So, what about giving it a try?


