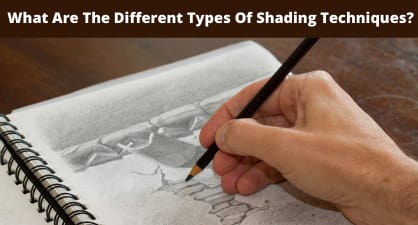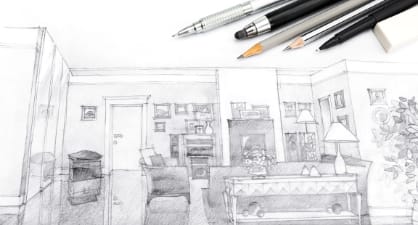
Do you want to know about different shading techniques and which one is the best among them? Then, you are in the right place. Shading is a part of technical drawing and art. It is a drawing method where the image is reflected using light and shadow. When a picture is fully shaded, it looks like a three-dimensional object that makes it real. But, a lot of hard work followed with knowledge of different shading methods is needed to do it.
Through reading the article, you will come to know the ins and outs of shading and it will give you an idea about some of its basic techniques. It will take your idea of drawing deeper and change the way you think about shading.
Above all, I will give you an opinion on which technique is most effective for your skill development and will help you in more practical creativity later on. Your ideas and techniques will improve with this and you can work various aspects through it. So, come and know the necessity and applied field of the shading techniques.
What is Shading? - A More Detail One
Shading is a kind of illusion that emerges on the canvas with the magic of the artist's hand. Pencils are the most important parts of good-looking shading along with the ideas. Once you have mastered the basic techniques of shading, your next task is to practice it, so that the skill can be further developed.
Different Shading Techniques, Their Advantages And Disadvantages

Here are seven shading techniques that you can use to draw, paint and sketch. If you practice those regularly, you will master the techniques. Moreover, if you stick to the consistent belief with patience and dedication, you can easily learn this.
1. Hatching/Parallel Hatching
This is considered to be the most basic technique of shedding. It works by shedding parallel lines. The parallel lines are very close to each other and are light to dark in color. Each line goes in the same direction. Even if the lines are not completely parallel or vertical, there is no problem. As the parallel lines increase, the image becomes more and more black. This is the most widely used technique of shedding.
2. Cross Hatching
The next step in parallel hatching is cross-hatching. In this method, the parallel first layer can start in any direction and the second layer is drawn vertically or almost perpendicularly above the lines. Each line crosses with another. This technique can create dark shades faster than other techniques. Cross-hatching makes the drawing darker.
3. Contour Hatching
The contour hatching technique uses curve lines. When used properly, contour hatching enhances three-dimensionality very interestingly. In this method, all three-dimensional drawing seems real. Contour hatching is a less used technique.
4. Stippling
Using the Stippling technique, you cannot shed using any line. Shading should be done using dots. Lightness and darkness are highlighted by increasing the density of the dot. Stippling is a time-consuming technique. It takes a lot of time in shading to enhance the image.
5. Tick Hatching
This is a technique similar to Stippling, but shorter lines are used instead of dots. This technique is used by placing a small line on top of one. This technique is effective for oil pastels and similar creativity. But, it is very difficult to draw with Tick Hatching.
6. Woven Hatching
This technique involves placing small parallel lines on one side and then placing another group of parallel lines perpendicular or near-perpendicular to its side. Its density is increased by using cross-hatching. It looks very interesting to see the woven hatching done completely. In Woven Hatching, one line after another goes to draw a short line.
7. Scribbling
Scrabbling is used when shading things like trees or hair. It is used for the shade of leaves or grass. It means its use in certain places. Although it is not possible to draw everything with it.
Some Basic Shading Technique Tips
Practice is the only way to get the most out of something. And a proper guideline makes practice more fruitful. I will give some basic tips on shading. I hope these will benefit you.
1. Choose Your Pencils Carefully
This is the most important part of this. If you want to do shading, you must have a good idea about a pencil. It is important to use good-quality pencils and keep an eye on how sharp their tips are. The slightest mistake can disrupt your creativity.
2. Practice All Types Of Shading Regularly
As I mentioned before, there is no alternative to doing well without practice. You need to learn all the shading techniques and practice them every day. You can apply the techniques by drawing circles or squares and then do shading into them.
3. Understand The Usage Of Shading
As you practice the techniques, you will understand when and where a shade needs to be used. If you master the techniques, your image will become more visual, three-dimensional, and real.
4. Get To Know The Shading Techniques Suit You
Although no technique is wrong, it is better to create a technique for yourself that will work later. You have to create a procedure that will carry your own identity. It will give a different identity to your creativity.
Conclusion:
Our main intend is to give you a basic idea about different shading techniques and their uses. The seven techniques that we discuss here are the best in their respective positions.
But, which of these techniques can be used in most places? OK. You have to combine all the techniques to give a three-dimensional look to a picture. No technique alone can make a picture completely interesting. You must use a combination of 2-3 techniques. You can personally choose any technique. But it is not possible to draw a beautiful picture without combining techniques.
If you ask my favorite one, I like the Stippling technique. The countless dots make a beautiful dark shape by sitting side by side. This is my own opinion. I hope you will benefit from my writing and let me know if need to know anything.


